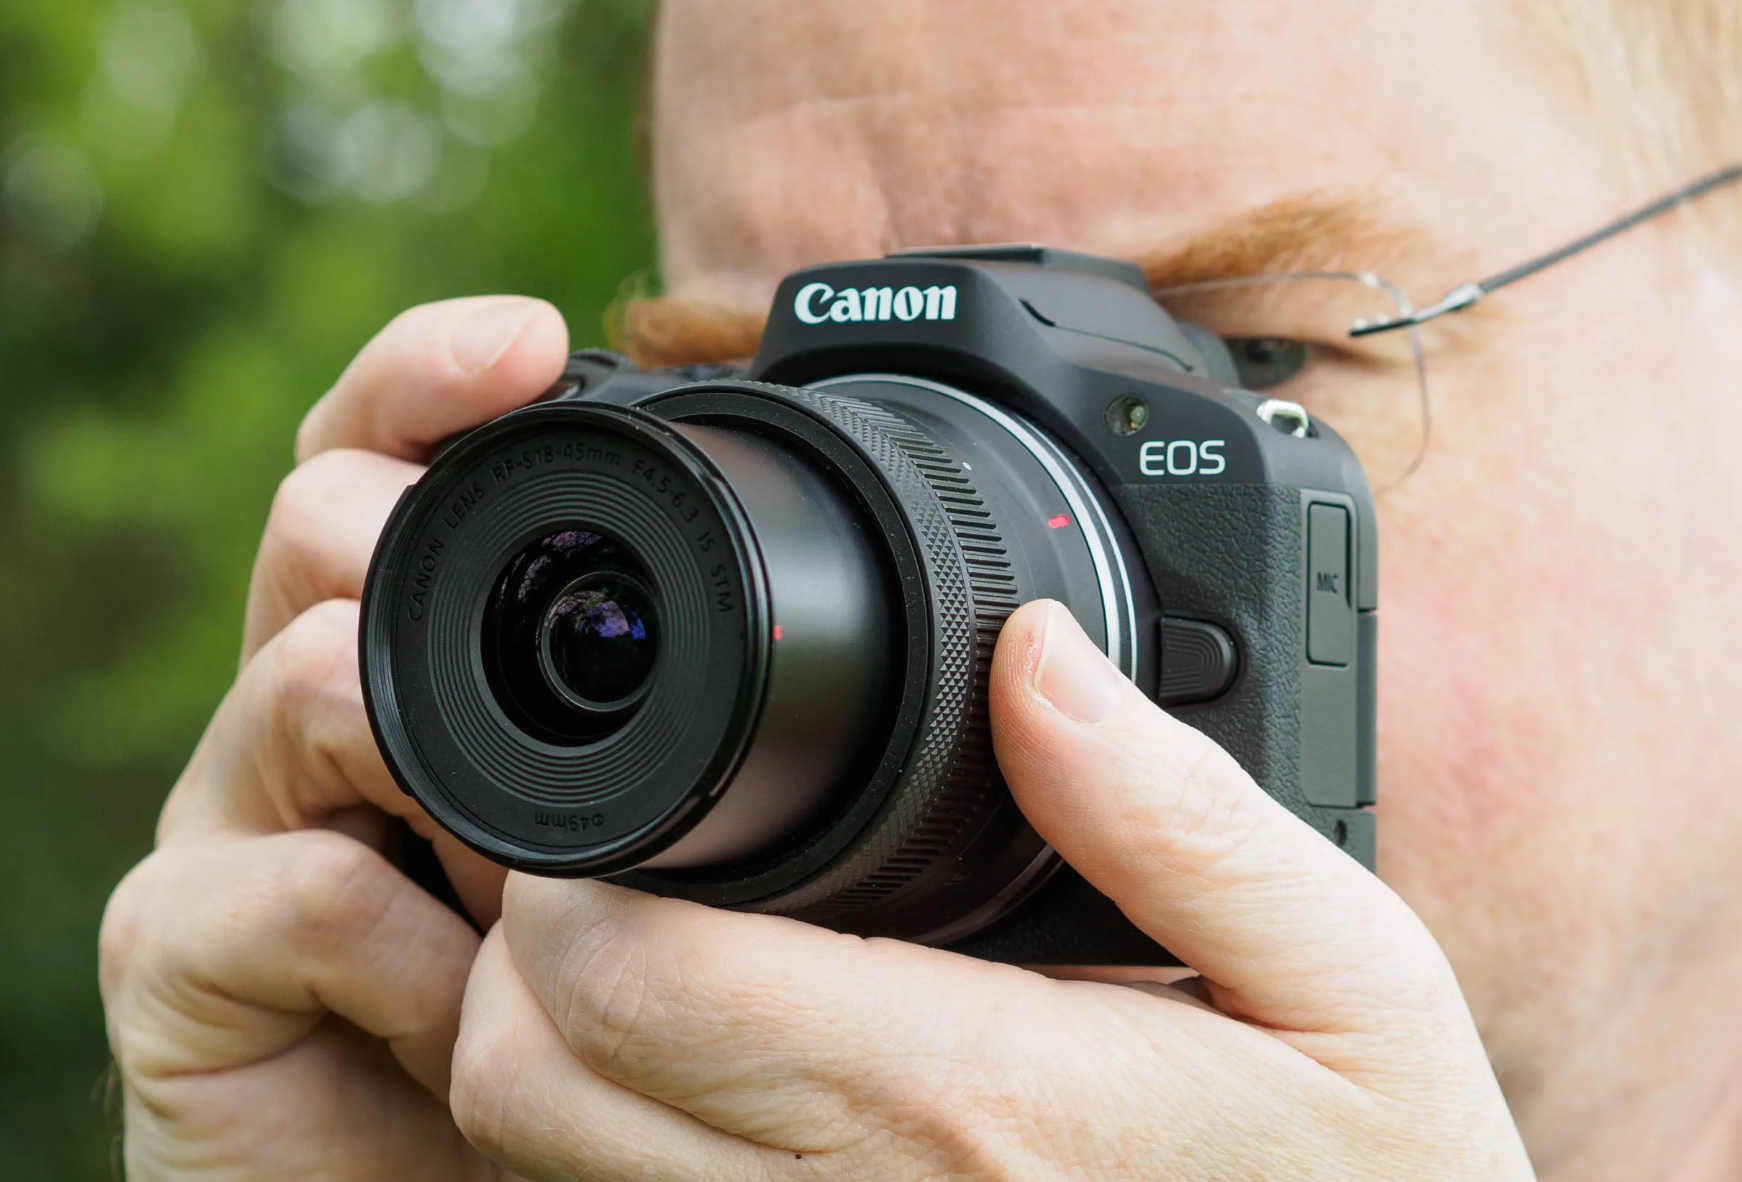
Rental Camera Guide

Canon EOS R50
Beginner Guide

Everything you need to know before using your rental camera. Follow this guide step by step and you will be shooting confidently in minutes.

Canon EOS R50 Body
RF-S 18-45mm f/4.5-6.3 IS STM
24.2 MP APS-C 4K Video Wi-Fi + Bluetooth Touch Screen
Canon EOS R50 with RF-S 18-45mm kit lens
What's Included

Rental Kit

Check all items before leaving. Everything should be accounted for.

Camera Body
Canon EOS R50
Lens
RF-S 18-45mm
Camera Bag
Padded carry bag
SD Card
64 GB included
Battery
LP-E17 pack
Charger
USB-C charger
Core Functions

Basic Camera Use

Four essential controls. This is all you need to know to get started.

Power On / Off
Flip the power switch on the top-right of the camera body. The rear LCD screen activates immediately.
Take a Photo
Half-press the shutter button to focus. Wait for the green focus confirmation box, then fully press to capture.
Record Video
Switch the mode dial to Movie mode. Press the red record button on the camera back to start and stop recording.
Zoom In / Out
Rotate the zoom ring on the lens barrel physically. Turn toward 45mm to zoom in, toward 18mm to zoom out.
Recommended

Best Settings

No technical knowledge required. Use these settings for every situation.

For Photos
A+ Auto Mode
The camera handles all exposure, focus, and white balance decisions automatically. Optimal for beginners in any shooting condition.
OOTD Events Travel Indoor Outdoor
Photo Mode A+ Auto
Video Mode Movie
Flash Auto
Focus Autofocus (AF)
Getting Sharp Results

Sharp Photo Tips

Follow these four rules consistently and blurry photos become rare.

1
Half-press the shutter first. Never go straight to a full press. The half-press triggers autofocus and exposure lock.
2
Wait for the green focus box. The camera shows a green confirmation box when focus is locked. Only then press fully to shoot.
3
Use both hands. Right hand on the grip, left hand supporting the lens from below. This significantly reduces camera shake.
4
Minimise body movement. Exhale gently before fully pressing the shutter. Even slight movement during the shot causes blur.
Export Your Photos

Transfer Photos

Two methods to move your photos off the camera.

Card Reader Adapter
  1. Turn off the camera.
  2. Open the side door and eject the SD card.
  3. Insert the SD card into a card reader adapter and plug it into your smartphone.
  4. Open your Files app — photos appear in the card reader folder, ready to save or share.
SD Card + Adapter
Canon Camera Connect
Install Canon Camera Connect and pair wirelessly via Bluetooth and Wi-Fi. Refer to the official Canon setup guide below for the full step-by-step instructions.
Canon App
Official Setup Guide
Power Management

Battery Tips

Preserve battery life and avoid data loss with these habits.

Charge fully the night before your shoot. Never start a session with a low battery indicator.
Never remove the battery while recording video. Doing so corrupts the video file and may damage the SD card.
Monitor the battery icon on the top LCD panel. When it turns red, save your work and recharge soon.
Handle With Care

Camera Care

This is rental equipment. Please treat it as you would your own.

Avoid Water
Not water-resistant. Keep dry in all conditions.
No Lens Touching
Fingerprints degrade image quality. Keep the lens cap on.
No Forcing
Never force buttons, dials, or the lens mount.
Prevent Drops
Store in the bag when not actively shooting.
Keep Away from Sand and Dust
Sand particles can enter the lens mechanism and scratch the sensor, causing permanent damage.
Before Returning

Return Checklist

Tap each item to confirm before handing the kit back.

Pre-Return Checklist 0 of 7 completed
Camera is powered off
SD card removed and photos backed up
SD card photos deleted before returning
All accessories packed in bag
Lens cap attached to lens
Battery inserted in camera
Charger packed in bag
Troubleshooting

Common Questions

Quick answers to the most frequent issues renters encounter.

Camera will not turn on
Confirm the battery is fully inserted with the latch clicked shut.
Check the power switch position on the top-right — it must be flipped to ON.
Try removing and reinserting the battery, then power on again.
If the issue persists, contact me via WhatsApp and I will assist you.
Photos are coming out blurry
Did you extend the lens to 18mm? This is the most common cause — revisit the Before You Start section above.
Always half-press first and wait for the green focus confirmation box before shooting.
Ensure both you and your subject are stationary during capture. Motion causes blur.
In low-light environments, add a nearby light source to assist the autofocus system.
Camera is not focusing
Lens not extended? Rotate the zoom ring to the 18mm position to unlock it first.
Maintain at least 25 cm distance from your subject — the lens has a minimum focus distance.
Try tapping directly on the screen where you want to focus (touch-to-focus).
Verify the focus switch on the lens barrel is set to AF (Autofocus), not MF (Manual Focus).
Need help? Text me